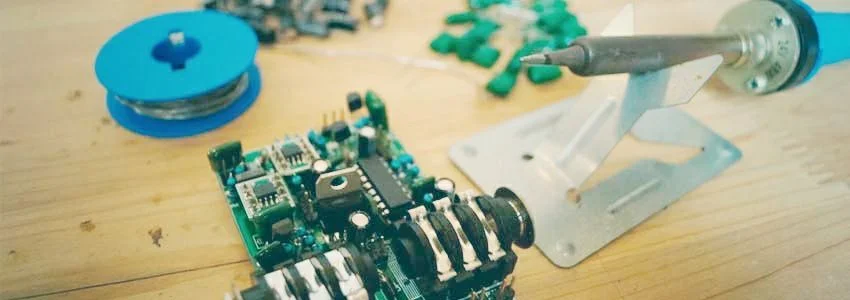
Did you get one of our PuzzleSound’s kits to build your own effect pedal but are new to soldering? Don’t worry, in this post we’ll walk you through the whole process, from what are the tools you’ll need to tips on how to get better solder joints so you get the most from your handbuilt effect pedal. Let’s get started!
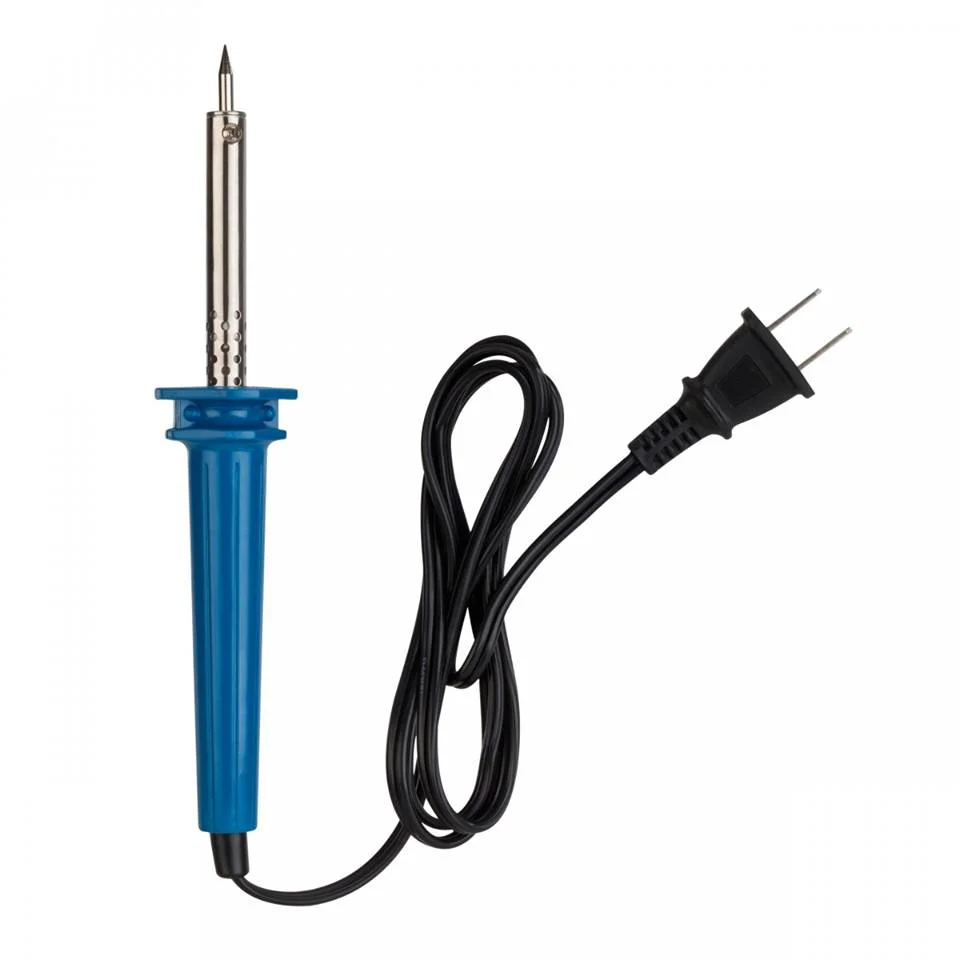
1 – SOLDERING IRON
The most essential tool you’ll need to solder your own pcbs is the soldering iron. There’s a wide variety depending on what you are intending to solder; for our kits, and basically for any electronic soldering, you’ll have to use a pencil soldering iron with a power around 30W and a thin to medium tip. The best thing you can do is try some of them, and then get the one that works better for you. We recommend getting a soldering iron of a medium to high quality (nothing under 15$), as a bad soldering iron can completely ruin your soldering experience!
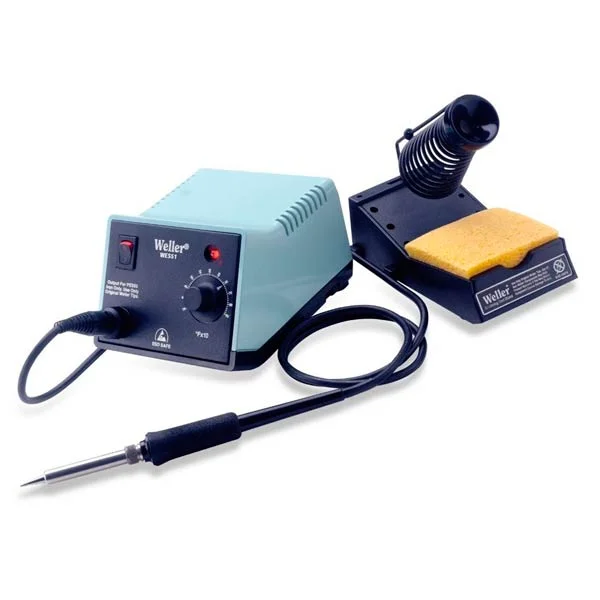
If possible, it’s very useful to get a soldering station with variable temperature so you can adjust the power depending on what you are soldering: you can set a higher temperature to solder big pins as 3PDTs and jacks, and then a lower one for other parts that are more heat-sensitive as ICs, capacitors or transistors.
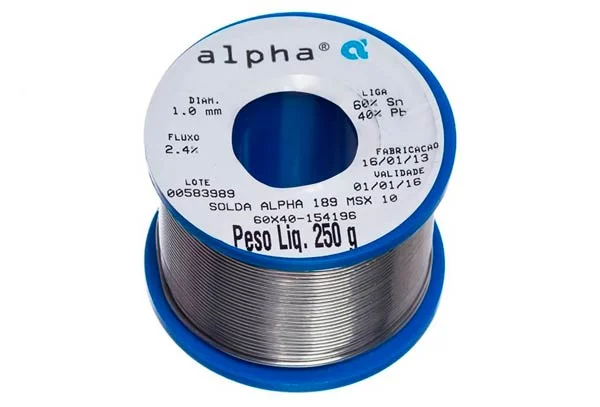
2 – SOLDER
As for the soldering iron, you should avoid bad quality solder(they have around 8-10 turns and have a dark grey color). It’s important as well to use an electronic soldering specific solder with resin core and with a diameter not wider than 1mm, otherwise it will need more heat to melt and can damage some of the heat-sensitive parts or lead to a bad soldering if the soldering iron doesn’t have enough power.
A good quality solder roll of around 100g. costs around 8$ and will last really long: with a single roll you should be able to solder up to 20 of our effect pedal kits! It will have a silver brilliant color (avoid matt solder wires). This electronic specific solder is actually an alloy of 60% solder and 40% lead, often marked as 60/40 solder. All of the soldering should be done in a well ventilated area, and if possible you should use some kind of mask to avoid the fumes.
The resin in the core of the solder wire is melted with the heat and prepares the surfaces to be soldered allowing a smoother flow of the solder so every little gap between the part and the pcb is correctly filled, which results in a perfect solder joint between the two elements.
With a medium quality soldering iron and a high quality solder you already have 70% of the work to get a great self made effect pedal!
3 – SOLDERING WITH TIN
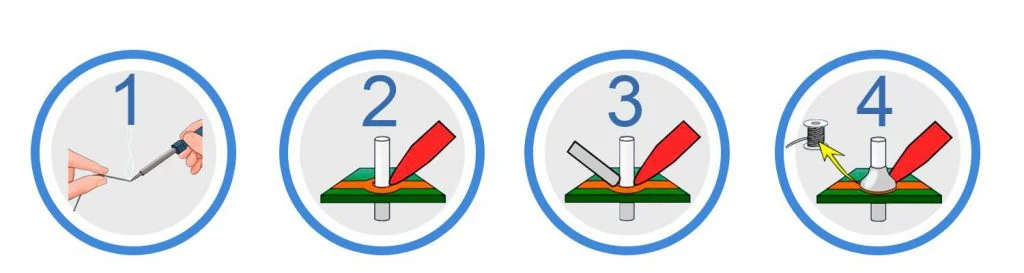
These are the steps to follow for a perfect soldering:
a – Add some solder to the soldering iron tip
Melt a bit of solder directly in the soldering iron tip; this helps transmiting the heat from the iron to the parts so the time we have to hold the soldering iron against the pcb is minimal, reducing the risk of damaging anything.
b – Apply heat to both the part and pcb
Place the soldering iron tip so it contacts both the part (i.e. the resistor pin) and the metallic part around the holewhere the resistor is placed, and hold it for a few seconds.
c – Feed some solder to the soldering
Now that the joint is hot you can add the solder. If you add it before it’s hot enough you’ll probably notice how it doesn’t “stick” to one or both of the elements, or that the solder doesn’t melts. Be sure to add the solder to the joint and not to the soldering iron tip!
d – Stop feeding the joint with solder
After applying the solder the solder joint should appear shiny and not matt. Solder needs to melt on the surface of the parts after being applied and not in the soldering iron.
You don’t have to apply too much solder as once it cools the joint will be completely solid (if you apply too much solder, it will become viscous). However, you have to apply enough solder so all the gaps between the pcb and the part pin are filled. A good solder joint has:
- Just enough solder, as more solder doesn’t translate into a stronger joint.
- A concave look.
4 – TIPS & TRICKS
a- Don’t stay too long in the same joint
We design all of our effect pedal PCBs with extra thick traces to allow a better heat dissipation and minimize any damage risk, but an excessive heat can destroy the PCB as well as some parts, particularly capacitors and transistors(we include sockets for every IC so heat is not applied to them directly). To avoid this to happen, move quickly! Don’t hold the soldering iron tip in the same joint for more than a few seconds, and if for some reason you can’t solder any joint, move to the next one and let it cool for 10-15 seconds before attempting to solder it again.
b- Keep your soldering iron clean
Clean your soldering iron regularly to avoid accumulation of waste in the tip: that will avoid a correct heat transmissionbetween the iron and the parts leading to a bad solder joint. Besides, keeping it clean will extend your soldering iron’s life span. You can use a wet sponge or steel wool. You’ll realize when it’s clean as the tip will be shiny.
c- Let the solder joint cool
Once you’ve finished a joint, let it cool for a few secondsbefore moving anything. After that time, you’ll have a solid joint between your pcb and the part.
d- Desolder as needed
If for some reason you made a mistake placing a part or have to resolder a joint, you can use a desoldering pump. Hold your iron in one hand and your pump on the other; apply some heat to the joint and, while holding the iron against the joint, bring the desoldering pump as close as possible and push the button. Perform this action as many times as you need to remove the solder.
Following these steps you won’t have any problem building any of our kits. Nothing is more satisfying than build your own effect pedals, and even if you’re new to electronics we highly encourage you to give it a try!
Here you’ll find all of our effect pedal kits
Besides, all of our effect pedals and kits are customizable, build an effect pedal that is truly yours!